How I Install and Uninstall Craft CMS 3.5.x Plugins
Published , updated
The purpose of this article is to describe the steps that I follow to install Craft CMS 3.5.x plugins.
Assumptions
- Craft 3.5.x is installed in local development and production environments.
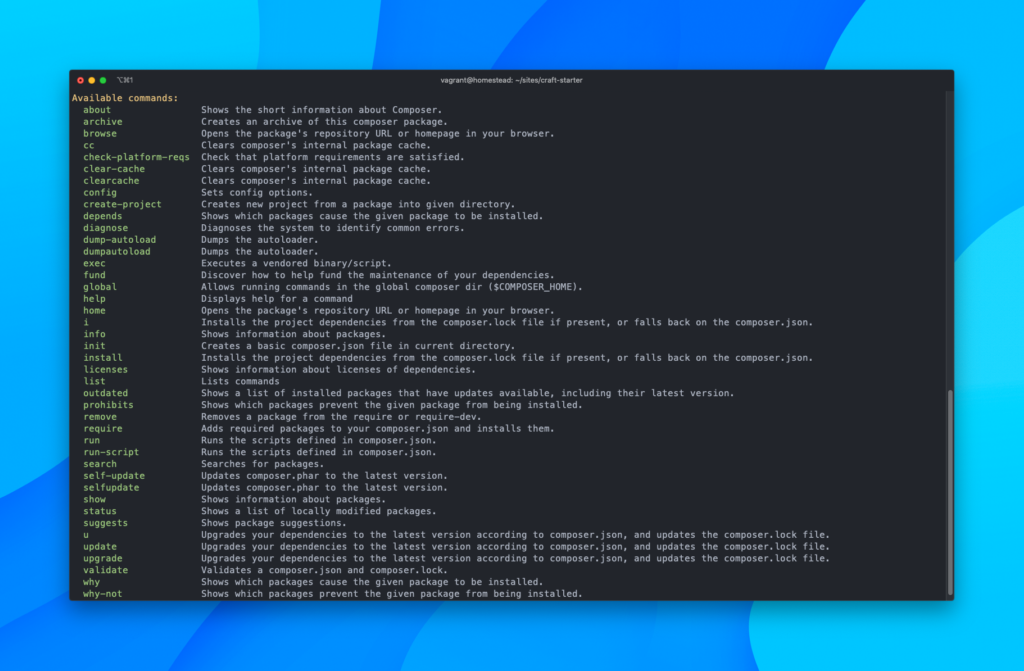
- Composer 1.3.0 or later is installed in local development and production environments. If you're new to Composer or need a refresher, read this excellent article titled Composer for the Rest of Us by Andrew Welch.
- Access to a command line interface (CLI) in local development and production environments.
Installing a Craft CMS Plugins
In Local Development Environment
I'll be using Pixel & Tonic's Redactor plugin as an example. The latest version (at time of writing) is 2.8.5 as per the Redactor plugin page in the Craft Plugin Store.
- From the command line in the Craft project root, run:
composer require craftcms/redactor:2.8.5to add the Redactor Composer package to thecomposer.jsonfile and install it with the version constrained to 2.8.5../craft plugin/install redactorto install the Redactor plugin with handleredactorin Craft itself../craft migrate/allto run plugin database migrations../craft project-config/applyto apply project config file changes../craft clear-caches/allto clear all the caches.
- Verify that the plugin was installed by visiting the Plugins section in the Craft control panel at http://example.test/admin/settings/plugins and is working as expected.
In Production Environment
- From the command line in the Craft project root, run:
./craft backupto backup the Craft database.composer installto install the plugin Composer package that I previously installed in my local development environment../craft migrate/allto run all database migrations../craft project-config/applyto apply project config file changes../craft clear-caches/allto clear all the caches.
- Verify that the plugin was installed by visiting the Plugins section in the Craft control panel at http://example.test/admin/settings/plugins and is working as expected.
Uninstalling a Craft CMS Plugin
In Local Development Environment
From the command line in the Craft project root, run:
./craft plugin/uninstall redactorto uninstall the Redactor plugin with handleredactor.composer remove craftcms/redactorto remove the Redactor Composer package from thecomposer.jsonfile.
In Production Environment
- From the command line in the Craft project root, run:
./craft backupto backup the Craft database.composer installto uninstall the plugin Composer package that I previously uninstalled in my local development environment../craft migrate/allto run all database migrations../craft project-config/applyto apply project config file changes../craft clear-caches/allto clear all the caches.
- Verify that the plugin was uninstalled by visiting the Plugins section in the Craft Control Panel at http://example.com/admin/settings/plugins.
Automating the Craft CLI Commands
To avoid running the above Craft CLI commands manually, I've added the following Composer command events with the relevant Craft CLI commands to the scripts section of my Craft project's composer.json file.
"pre-update-cmd": [
    "@php craft backup/db"
],
"post-update-cmd": [
    "@php craft migrate/all",
    "@php craft project-config/apply",
    "@php craft clear-caches/all"
],
"pre-install-cmd": [
    "@php craft backup/db"
],
"post-install-cmd": [
    "@php craft migrate/all",
    "@php craft project-config/apply",
    "@php craft clear-caches/all"
]
By following the steps above, I can confidently install Craft plugins in my local development and production environments.
To learn how I update plugins, read my article titled How I Update Craft CMS 3.5.x and Craft CMS Plugins.